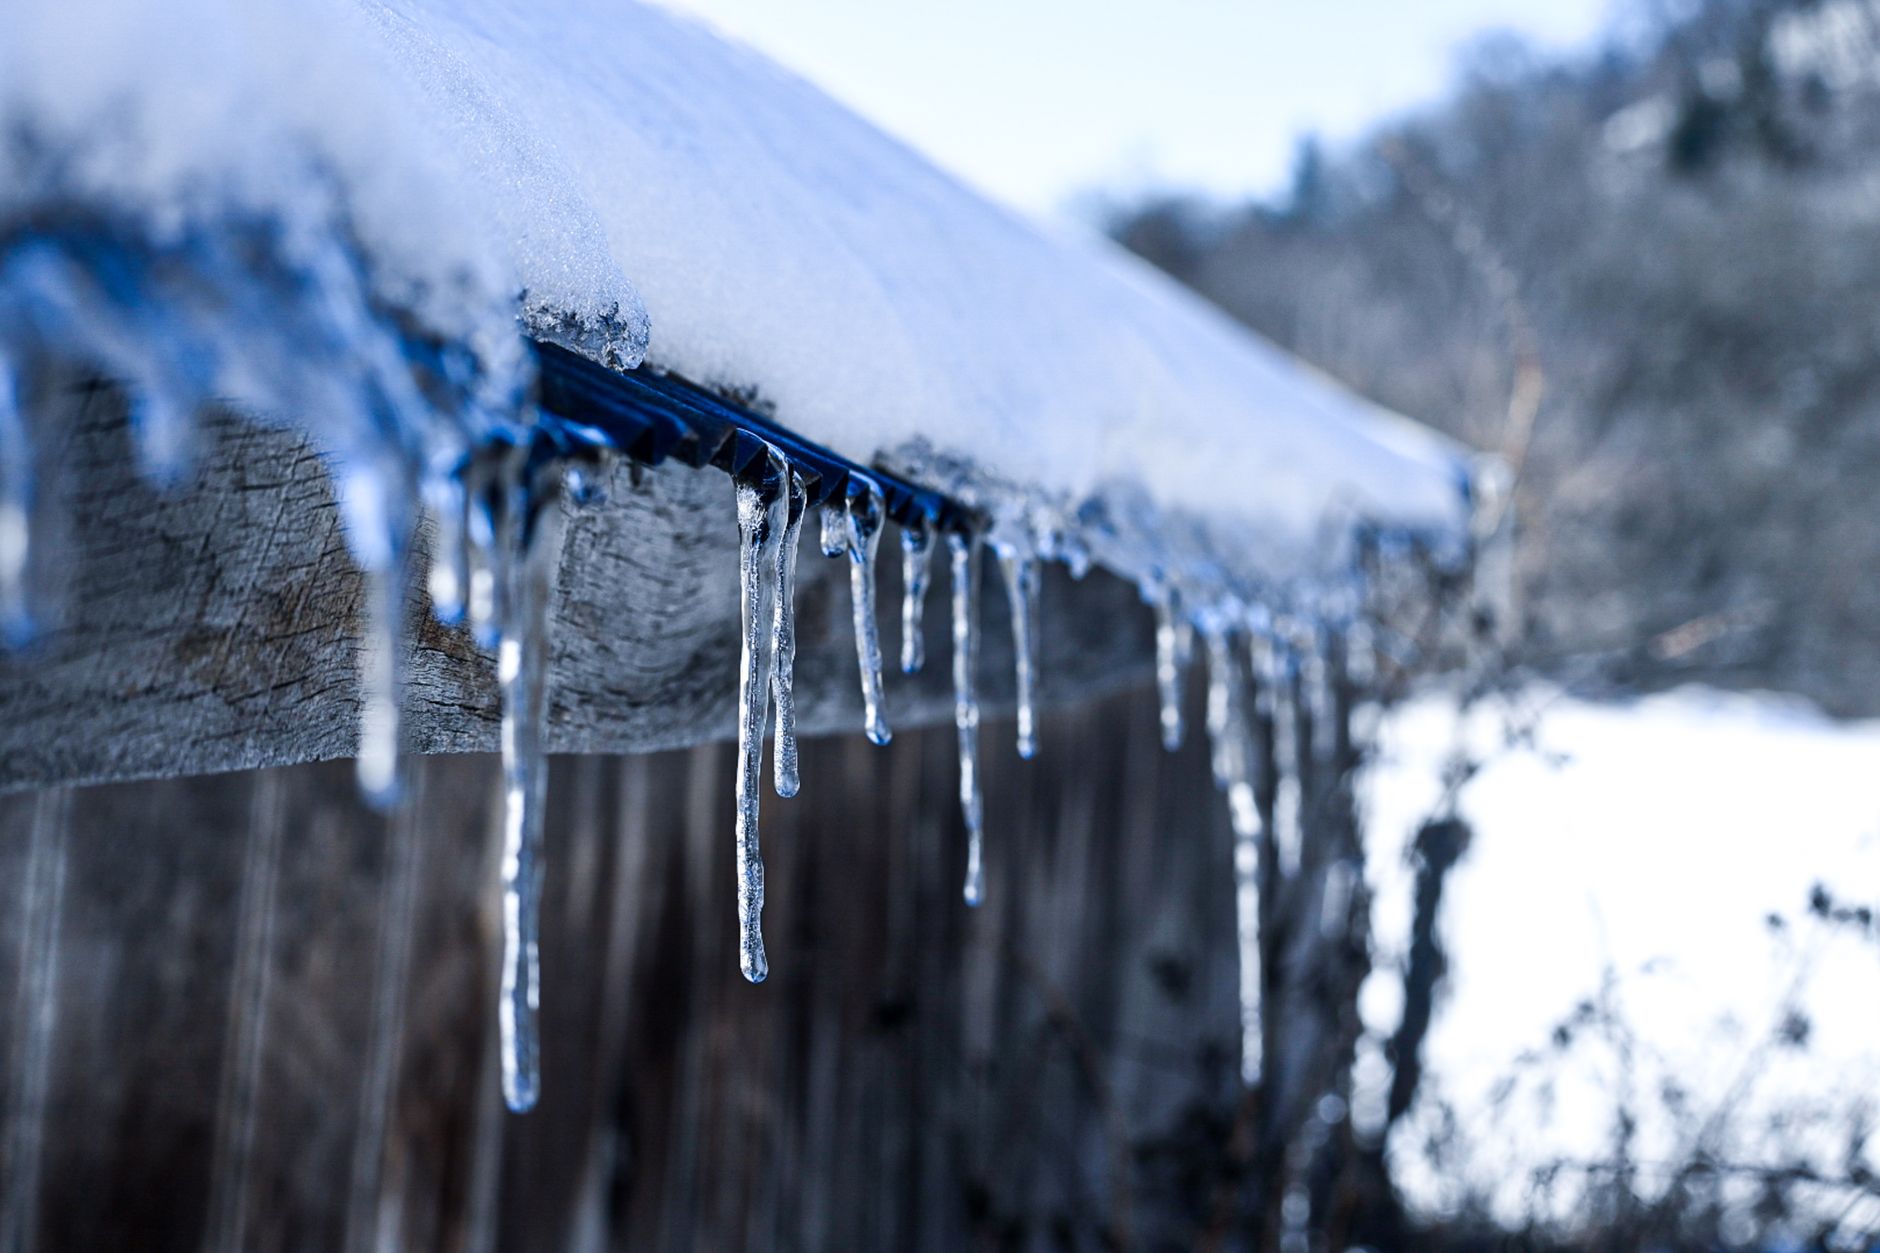
Frozen pipes aren't just an inconvenience — a single split copper or PEX line can dump hundreds of gallons of water into your home in a matter of hours once it thaws. The good news is that most freeze-ups are preventable with a few hours of prep before the temperature drops. This guide walks through why pipes freeze, which ones are most at risk, and the specific steps that actually work to prevent pipes from freezing this winter.
Why Pipes Freeze (and Why They Burst)
Water expands roughly 9% in volume as it turns to ice. That expansion doesn't usually crack a pipe right where the ice forms — it builds pressure downstream between the ice blockage and a closed faucet, and the pipe fails at its weakest point, which can be several feet away from the actual ice plug. This is why a burst can seem to appear "out of nowhere" in a wall far from an exterior surface.
Pipes are most vulnerable when they run through unheated or poorly insulated spaces and are exposed to moving cold air, not just cold temperatures alone. A pipe in a heated basement rarely freezes even in deep cold; a pipe in an uninsulated crawlspace can freeze even in a modest cold snap if wind gets underneath the house.
Identify Your Vulnerable Pipes First
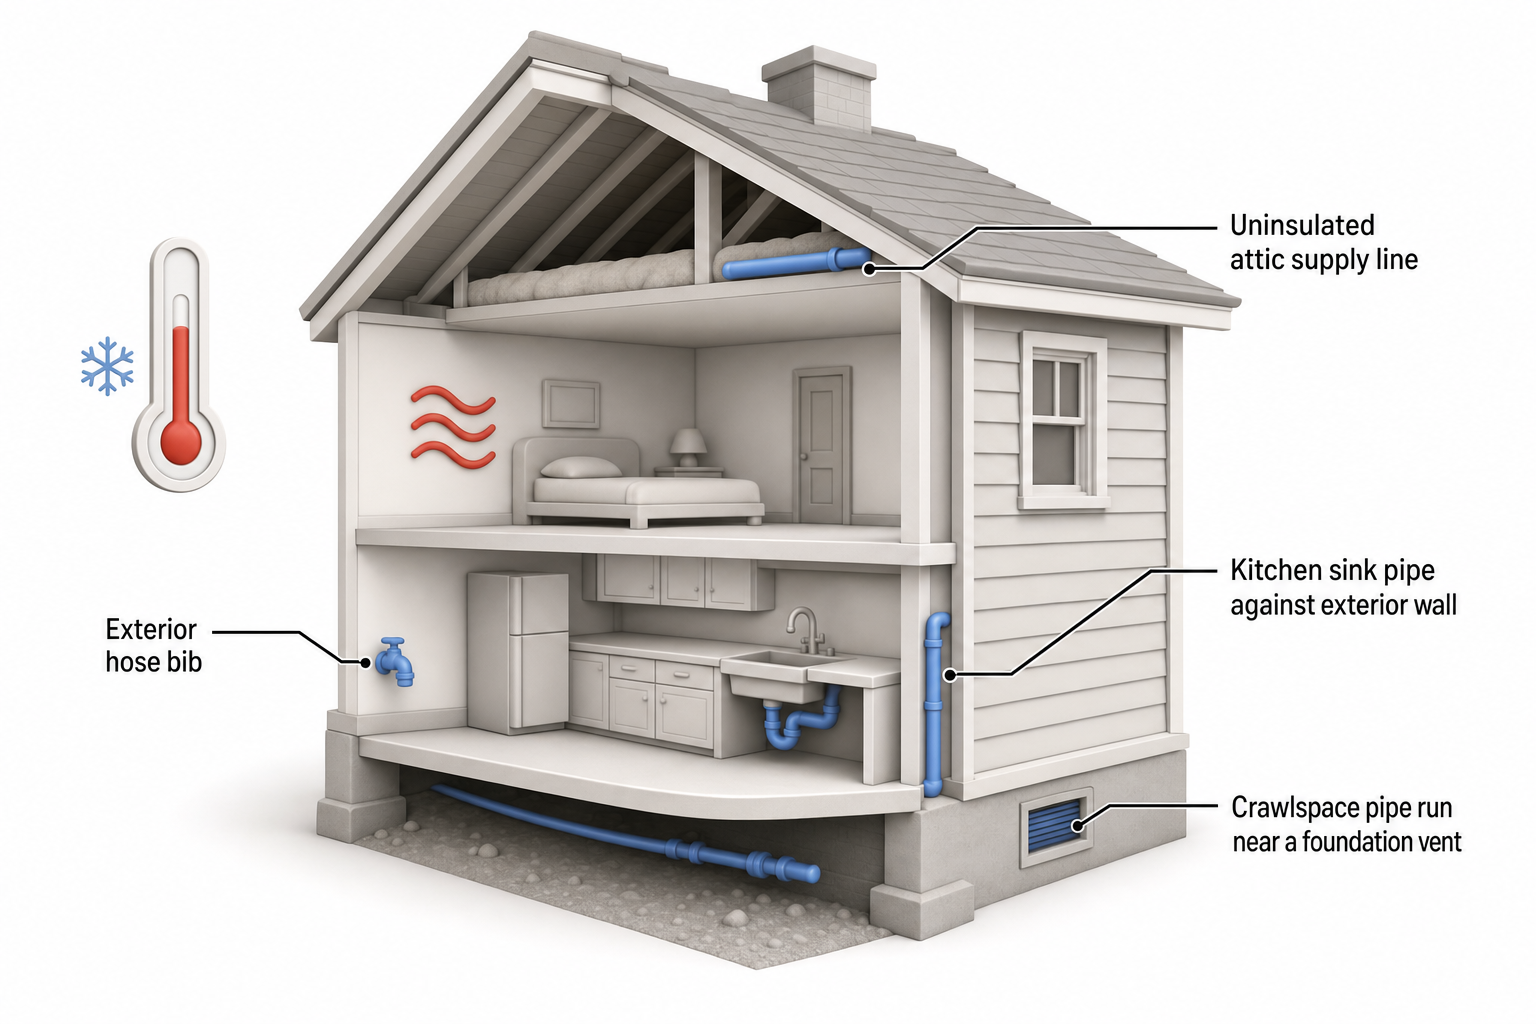
Before buying insulation or foam, walk your home and make a list. Typical trouble spots include:
- Exterior hose bibs (outdoor spigots) and the pipe segment just inside the wall behind them
- Crawlspaces, especially near vent openings or gaps in skirting
- Unheated attics and garages, where supply lines sometimes run for HVAC or laundry hookups
- Pipes in exterior walls, particularly on the north side or corners with minimal insulation
- Under kitchen and bathroom sinks on exterior walls, especially if cabinet doors stay closed
- Water meters and shutoff valves located in unheated basements or outdoor pits
Step 1: Insulate Exposed and At-Risk Pipes
- Foam pipe sleeves. Pre-slit foam tubing sold by pipe diameter slides directly over exposed pipe and is the fastest fix for basements, crawlspaces, and attics. Match the sleeve's inner diameter to your pipe size (commonly 1/2 inch or 3/4 inch for residential supply lines) and seal seams with foil tape or the sleeve's adhesive strip rather than leaving gaps.
- Pipe-wrap insulation tape or fiberglass wrap works better on irregular fittings, elbows, and valves where rigid foam sleeves won't bend cleanly.
- Heat cable (heat tape) is worth the added cost for pipes in consistently cold, exposed areas — attach it directly to the pipe per the manufacturer's instructions, then cover with insulation on top. Never wrap standard insulation tightly around heat cable without following the product's specific layering instructions, since some types need airflow or are rated only for use under specific insulation types.
- Don't forget to insulate the cold water inlet line to outdoor spigots and any pipe running through an unheated garage ceiling.
[!safety] If you're using heat cable, only use products listed for the exact application (pipe freeze protection vs. roof de-icing are not interchangeable) and never let it overlap itself, which can create a fire hazard. Follow the manufacturer's installation instructions exactly, and consider a licensed electrician for any hardwired (non-plug-in) heat cable installation.
Step 2: Seal Air Leaks Near Pipes
Insulation slows heat loss, but moving cold air is what actually freezes pipes fast. Check for:
- Gaps around where pipes penetrate exterior walls, rim joists, or foundation sills — seal with expanding spray foam or caulk rated for exterior use
- Foundation vents left open in a crawlspace during winter (many homeowners close these seasonally, though some crawlspace designs require year-round ventilation — check what's appropriate for your foundation type)
- Gaps around dryer vents, cable/utility penetrations, and garage doors that let drafts reach interior pipe runs
Step 3: Disconnect and Drain Outdoor Hoses and Spigots
- Disconnect garden hoses completely — a hose left attached can trap water in the spigot and prevent it from draining, defeating even a frost-proof design.
- If you have a standard (non-frost-proof) hose bib, shut off its interior supply valve if one exists, then open the outdoor spigot to drain residual water, and consider adding an insulated faucet cover over the exterior fixture.
- Frost-proof sillcocks have a long stem that places the actual shutoff valve inside the heated wall cavity, but they still rely on the outdoor portion draining fully — a hose left connected can hold water against the valve and cause it to freeze and crack anyway.
Step 4: Know When and How to Let Faucets Drip
During a hard freeze warning, letting a faucet drip is a legitimate, low-cost way to prevent pipes from freezing, because moving water is far more resistant to freezing than standing water, and a small trickle relieves the pressure buildup that causes bursts even if ice does form.
- Target faucets fed by pipes you know run through vulnerable areas (exterior walls, crawlspaces) rather than every tap in the house.
- A slow, steady stream about the width of a pencil lead is generally sufficient — you don't need a full stream.
- Run both hot and cold sides slightly if both lines are exposed, since both can freeze independently.
- This is a temporary measure for cold snaps, not a long-term daily habit — pair it with the insulation and sealing steps above so you're not relying on dripping alone.
Step 5: Keep Cabinet Doors Open and Maintain Heat
- Open cabinet doors under sinks on exterior walls during a cold snap so warm room air can circulate around the pipes.
- Keep your thermostat set to the same temperature day and night rather than letting it drop significantly overnight; consistent heat matters more than a slightly higher daytime setting.
- If you're leaving home during a cold spell, don't set the thermostat below roughly 55°F (about 13°C), and let someone check on the house periodically if you'll be gone for an extended stretch.
- In detached garages or outbuildings with plumbing, a small space heater on a thermostatically controlled setting can help, but always follow the heater's clearance and safety instructions around combustibles.
[!region] Recommended minimum indoor temperatures, insulation requirements, and whether crawlspace vents should stay open or closed in winter vary by climate zone and local building code. Check with your local building department or a licensed plumber for guidance specific to your area.
Step 6: Know Your Main Shutoff Valve
Every household should know the location of the main water shutoff valve and confirm it turns freely before winter arrives — a valve that's seized or painted shut is useless in an emergency. If a pipe does freeze or burst, shutting off the main supply immediately limits water damage while you address the problem.
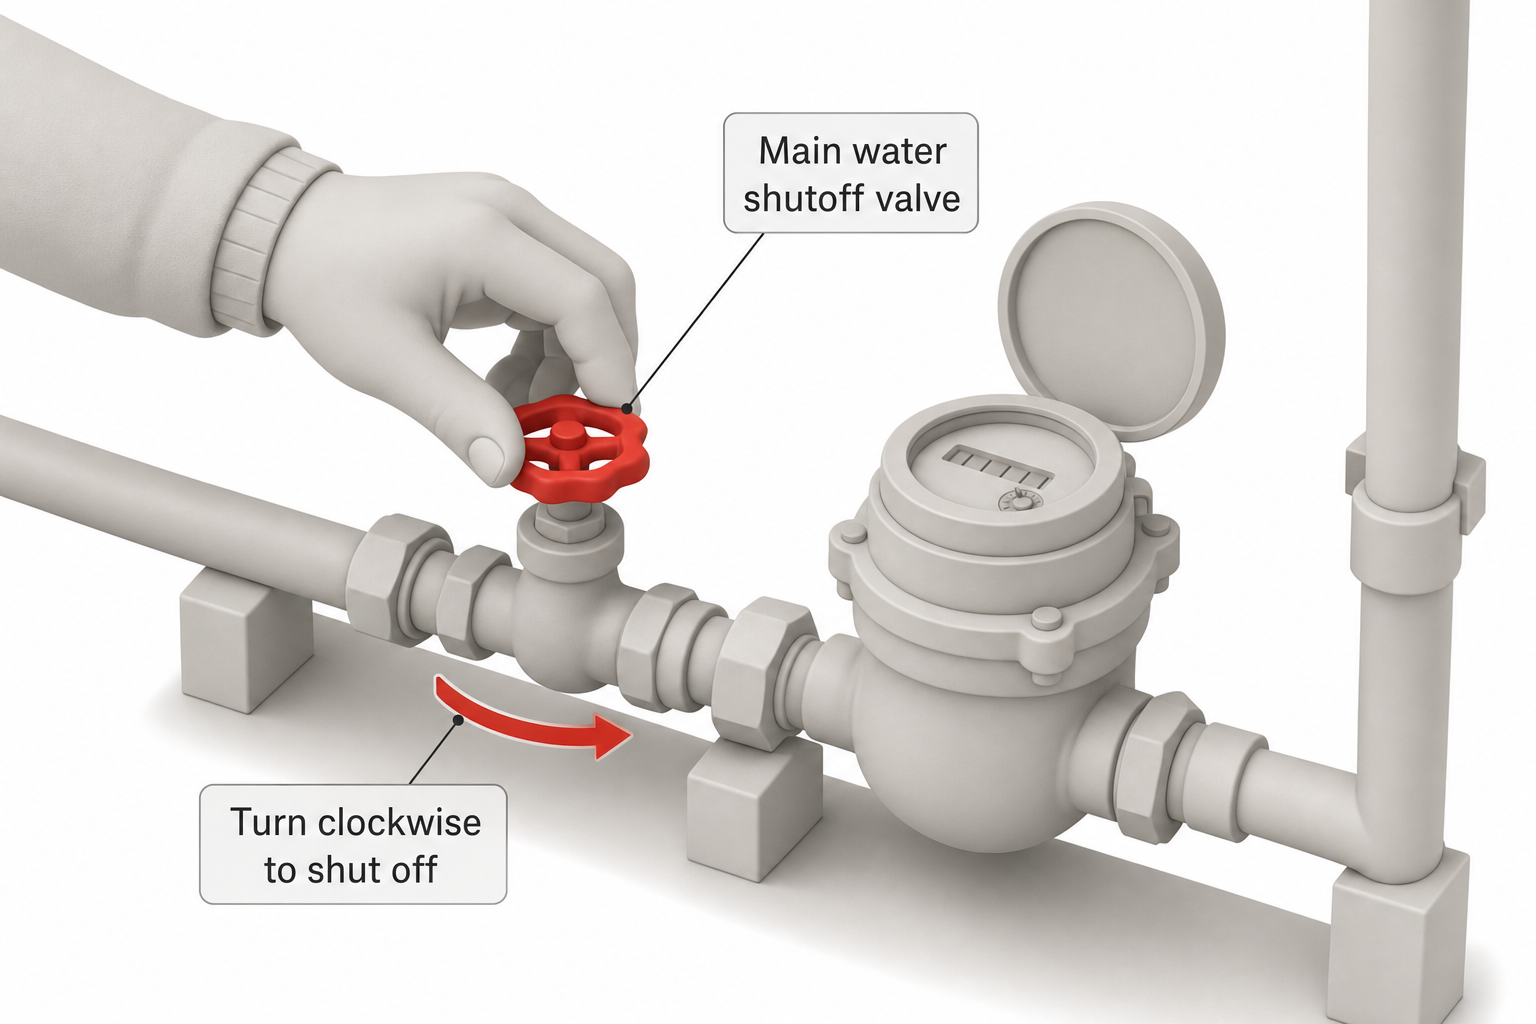
[!safety] If a pipe has already burst, shut off the main water valve first, then the electricity to any affected area if water is near outlets or wiring — call a licensed electrician or your utility if you're unsure it's safe to do so yourself. Thawing a frozen pipe with an open flame (torches, etc.) is a serious fire risk; use a hair dryer, heat lamp, or heat tape rated for the purpose instead, and call a licensed plumber if you can't locate or safely reach the frozen section.
A Pre-Winter Checklist
- [ ] Insulate exposed pipes in basements, crawlspaces, attics, and garages
- [ ] Seal drafts and gaps around pipe penetrations
- [ ] Disconnect all garden hoses and drain outdoor spigots
- [ ] Confirm interior shutoff valves for outdoor faucets are closed, where present
- [ ] Test that your main water shutoff valve turns freely
- [ ] Identify which faucets to drip during a hard freeze warning
- [ ] Set a plan for maintaining consistent indoor heat while traveling
If you want more insulation or protection for specific pipe runs, see the recommendations below for pipe sleeves, wrap, and heat cable suited to different pipe sizes and locations.
FAQ
At what temperature do pipes actually start to freeze? There's no single universal threshold since it depends on how exposed the pipe is, wind chill, and how long the cold lasts, but many plumbers and utilities use sustained temperatures at or below roughly 20°F (-6°C) as a general point where uninsulated, exposed pipes become at meaningful risk — insulated or interior pipes can often tolerate much colder outdoor temperatures without issue.
Is it really worth leaving a faucet dripping all night? Yes, for pipes you know are exposed to serious cold, since a small ongoing drip is inexpensive compared to potential water damage from a burst pipe. It's not necessary for well-insulated interior plumbing that never gets particularly cold.
Can I use a space heater to keep a crawlspace from freezing? It's possible but should be done cautiously — use a heater specifically rated for the damp, low-clearance conditions of a crawlspace, keep it well clear of any combustible material, and never leave it running unattended for extended periods without a thermostat or safety shutoff feature. For an ongoing issue, improving insulation and sealing air leaks is generally a safer long-term fix than relying on a heater.
What should I do the moment I discover a frozen pipe? Shut off the main water valve if you're worried it might already be cracked, open the affected faucet to relieve pressure as it thaws, and apply gentle heat (a hair dryer or heat lamp) to the suspected frozen section starting from the end nearest the faucet. If you can't find the frozen section or the pipe is in a wall or hard-to-reach spot, call a licensed plumber rather than risk a delayed rupture.
Do frost-proof outdoor faucets ever freeze anyway? Yes — despite the name, a frost-proof sillcock can still freeze and crack if a hose is left attached, since the trapped water prevents the pipe from draining properly even though the shutoff point is inside the heated wall.